Call This Monday to Get $50 Off
Schedule a Local Plumber in Morgantown Area - Call us Now to Get $35 OFF.
4.8 / 5 Ratings based on 794 reviews Great Plumbers, Great Reviews
Call This Monday to Get $50 Off
Schedule a Local Plumber in Morgantown Area - Call us Now to Get $35 OFF.

With approximately 30% of indoor water consumption attributed to toilets, it makes sense to install an efficient and water-saving toilet in your home or business. A traditional toilet can use anywhere from 3 to 6 gallons per flush, while newer models use as little as 1.28 GPF or even less. If you’re still using an older model, you’re literally sending your hard-earned money down the drain. Here at Mr. Rooter Plumbing, we recommend that you convert your toilet to dual-flush to save water per flush.
Mr. Rooter Plumbing is a local plumbing company offering professional plumbing services, including toilet installation, repair, and replacement. Whether you’re looking to install modern toilets in your new home or your toilet is acting up and you need quick repairs, reach out to Mr. Rooter Plumbing. Today, we’ll explain how you can convert your toilet to dual-flush.
As the name suggests, a dual-flush toilet offers two flushing options for disposing of waste, typically with different water volume settings. The flushing options are:
Before you begin the installation, you'll need adjustable wrenches, a screwdriver, pliers, a bucket, and a cleaning cloth. Ensure the conversion kit is compatible with your toilet model.
Here are the steps to follow:
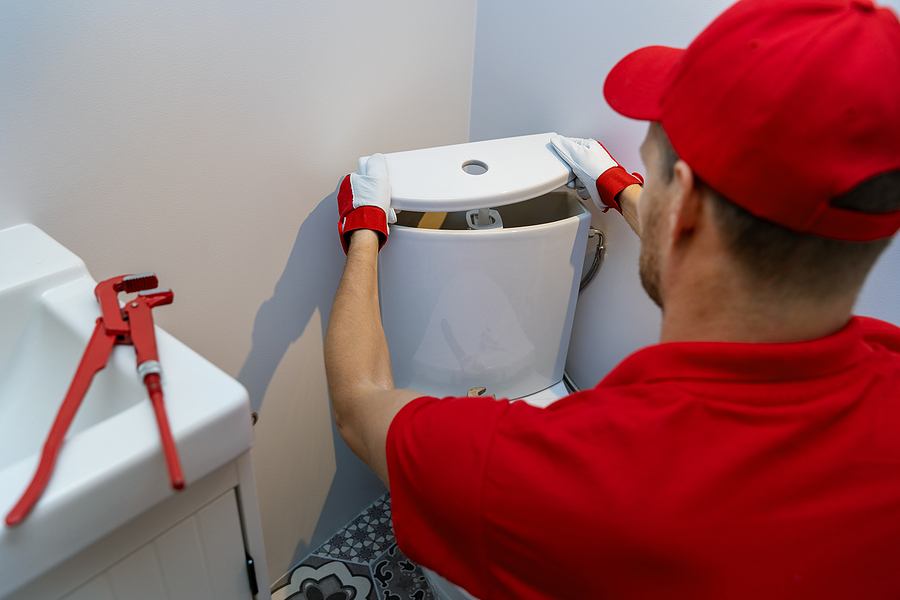
Locate the shut-off valve behind the toilet and turn it clockwise until it stops completely. Flush the toilet to drain any remaining water in the tank. After you’ve turned off the water supply, use an adjustable wrench to unscrew the water hose connecting the supply line to the tank fill valve.
Unscrew the plastic nut holding the old flush valve assembly inside the tank. This might require holding the valve steady with pliers while turning the nut. Carefully lift the old flush valve assembly out of the tank and discard the old assembly.
Here, you’ll need to consult the kit instructions. Each kit might have specific steps for positioning and securing the new flush assembly. For most kits, you'll insert the new assembly into the tank opening and secure it with the provided components, like screws or a rubber gasket.
Place the tank carefully back onto the bowl, and ensure the mounting bolts and holes are properly aligned. Secure the tank with the nuts and washers, tightening them firmly but not excessively.
Reconnect the water supply hose to the fill valve on the tank, and use the wrench to tighten the connection. Turn on the water supply valve slowly, and check for leaks around the connections.
You’ll have to consult the manual for instructions on how to replace the flush handle. The specific way to install the new handle might vary depending on the kit and your toilet model. Follow the instructions to attach the handle to the new flush mechanism.
Flush the toilet using both buttons to test the dual-flush mechanism. Ensure both flushes work properly and there are no leaks.
If you encounter difficulties converting your toilet to dual-flush, contact a professional plumbing repair service to help you. Toilet installation and replacement are technical jobs that should be left to a qualified and experienced plumber. Here at Mr. Rooter Plumbing, we are a reputable plumbing service that specializes in toilet installation, toilet repair, and toilet replacement. Our plumbers have the skills, experience, and tools to install, repair, and replace all types and models of toilets.
Why You Should Have a Tankless Water Heater Hot water is one…
Read More+Common Water Heater Problems and How to Fix Them Water heaters are…
Read More+Water in Your Shower Not Hot Enough? Everyone deserves a nice hot…
Read More+